All the previous updates are on the old site and are yet to be migrated.
As an IT technician, primarily working within the education sector, September is the busiest period of the year by far with students and staff returning, normally to newly integrated systems that haven’t been fully tuned in and/or the users aren’t familiar with.
A large part of the ‘September Armageddon’ is the new intakes of students we need to create and setup for the various systems. In the good old days of on-premises servers running Windows domain controllers with Active Directory this would be easy, especially if you used a tool such as ActiveMan. However; in the digital-age of cloud-based computing and devices now authenticating via Azure AD, we end up creating and managing users through MS365 Admin Center.
Whilst the Admin Center can be powerful and has lots of potential, it has a few shortcomings. One in particular is the limitation when bulk import users and assigning licenses. For example, MS will allow you to upload a CSV with your user information including any additional info such as department, manager’s name etc., but they’re missing a password column. I did some research and found that MS doesn’t allow you to specify users’ passwords in the CSV, nor does it allow you to do it during the creation process on the web interface. You can however do this if you creating the users using a command shell and import the necessary modules, however this can cause issues.
Another big problem is licenses. Once you create users, you typically need to assign the licenses to access products and services. For example, we give students the ‘Office 365 for students’ so that they can get an email address and access web apps, etc. If you go to assign licenses on the Admin Center, you’ll find you can only select 40 users at a time. This becomes a huge setback if you’re dealing with large intakes, especially if you’re me and look after 20-25 academies yourself.
So, to combat these issues I’ve created this application – AADManage.
AADManage has now been in development for several months. I have several prototype versions, the earliest back in March have the basic UI functionality such as menus and creating new projects via MDI forms and then some of the basic functionality inside of the project windows, including some of the username generation functionality.
Around late Spetember / early October, on a Friday afternoon, I ended up dislocating my knee and was advised by the hospital to not drive and work from home where possible. So I spent Friday evening and the weekend in bed resting the knee and after a busy month of work and then coming home burnt out not wanting to look at a computer screen, I decided I could give this project some attention again.
The first thing to do was abandon the current solution file and start building a new prototype from the ground up making improvements to the foundation of the app such as the way MDI forms are initiated, painted, destroyed etc. After that it was time to migrate the already working and tested features over and make any necessary adjustments to the code.
At this stage, I had a basic prototype running with a much cleaner UI that not only looked better but performed much better and made for a good foundation to build an app on top of. From here, I would start adding features, test rigorously, commit and then repeat.
Here are some demo images:
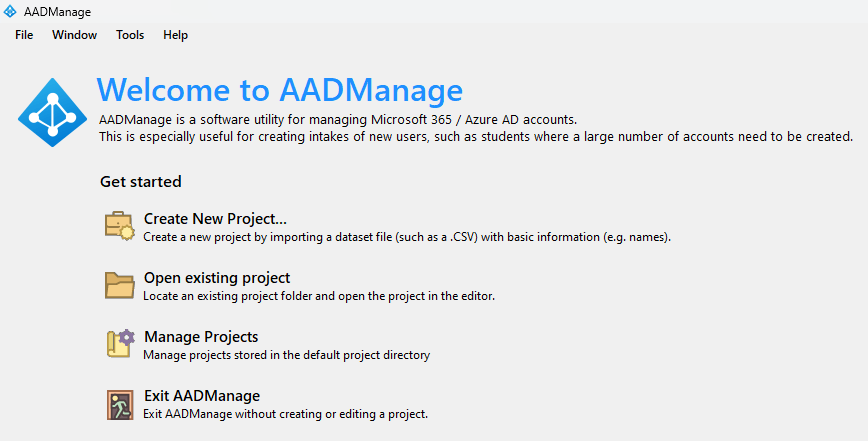
Welcome Screen
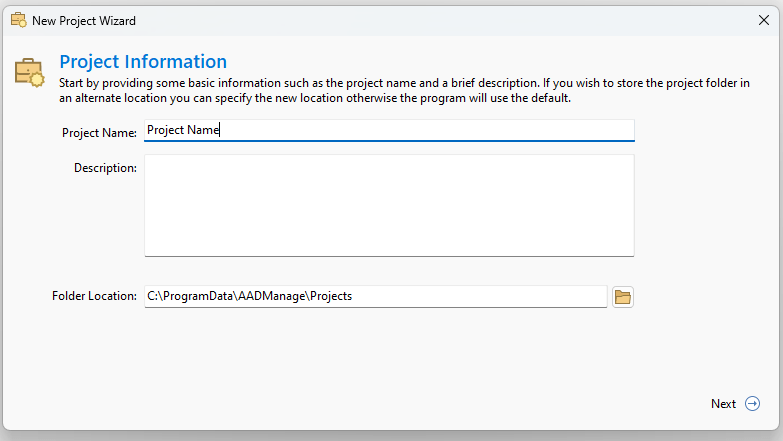
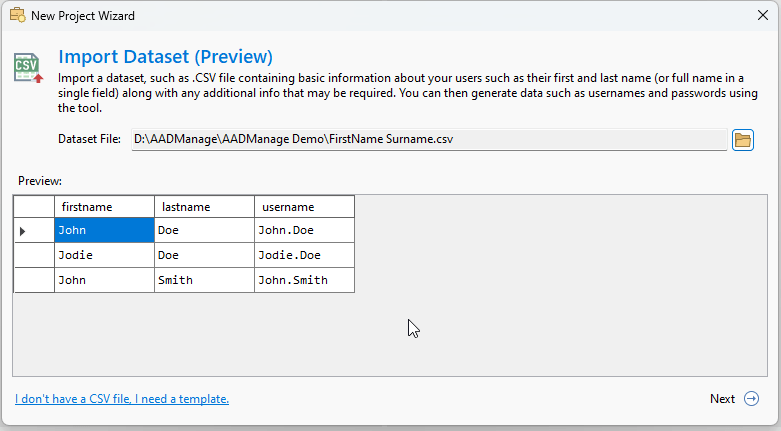
Project Creation Dialog
…with the ability to now preview data before importing!
And then you have the main interface…
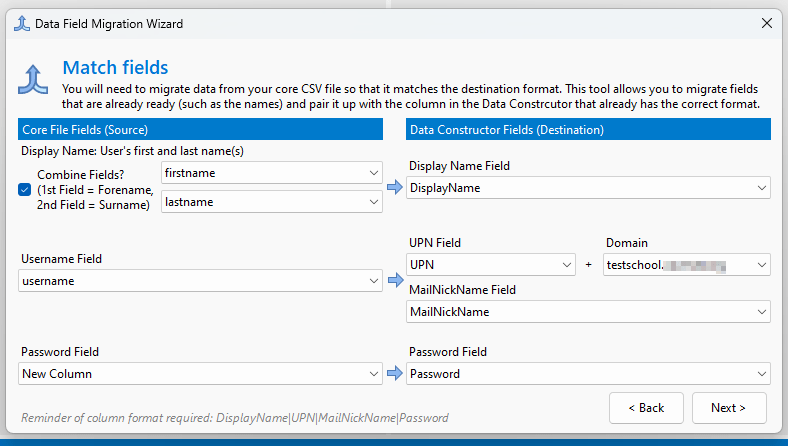
The way this essentially works is, the dataset on the left is the data you’ve imported with the columns you’ve imported. On the right is your destination format – this is how the data needs to be laid out for Microsoft to create the accounts.
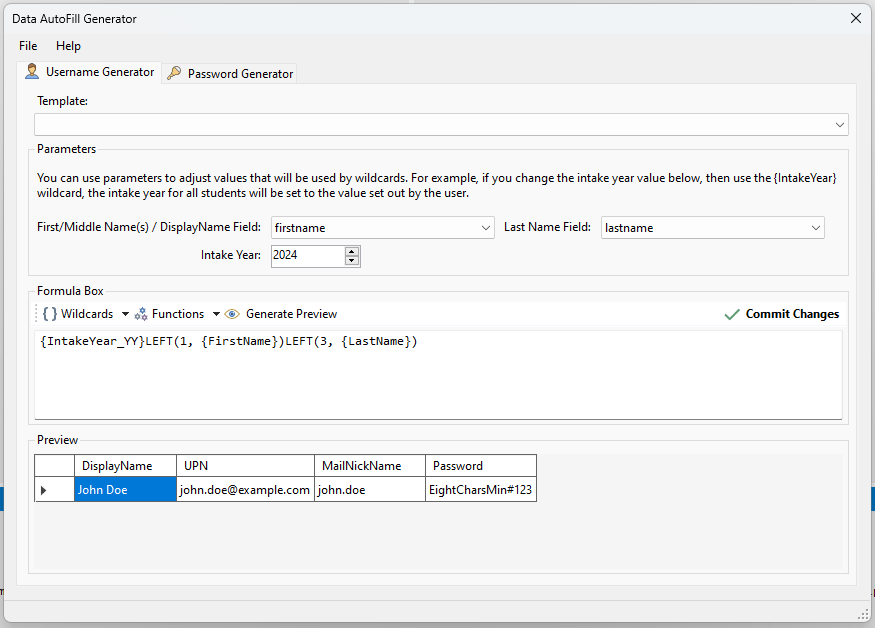
As it stands, the data you can submit to MS via this tool is limited to the users DisplayName, UPN, MailNickName and their password; however, there are plans to add more fields in the future.
To get the data from the left side to the right you first of all need to make sure you have all the necessary data imported/created, ready to ‘migrate’ to the ‘Export Constructor’. For example, if you gaven’t already generated a list of usernames, but wish to generate that information using data already available such as the user’s name, you can use the AutoGen technology to accomplish this by using wildcards to extract data and then concatenate into usernames for each user.
And then, as mentioned you can migrate the data over from the left side to the right:

Migration Tool:
And then here’s the data migrated over:
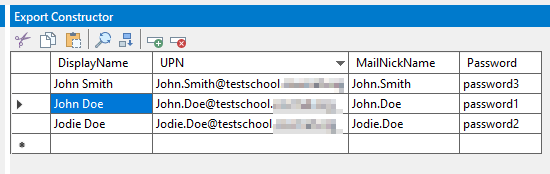
There is a lot more functionality that I have added of course, but this gives a basic demonstration of the UI layout and how things work at a core level.
Hopefully I can keep this blog up-to-date with more information as the project develops.
-JF

Leave a comment